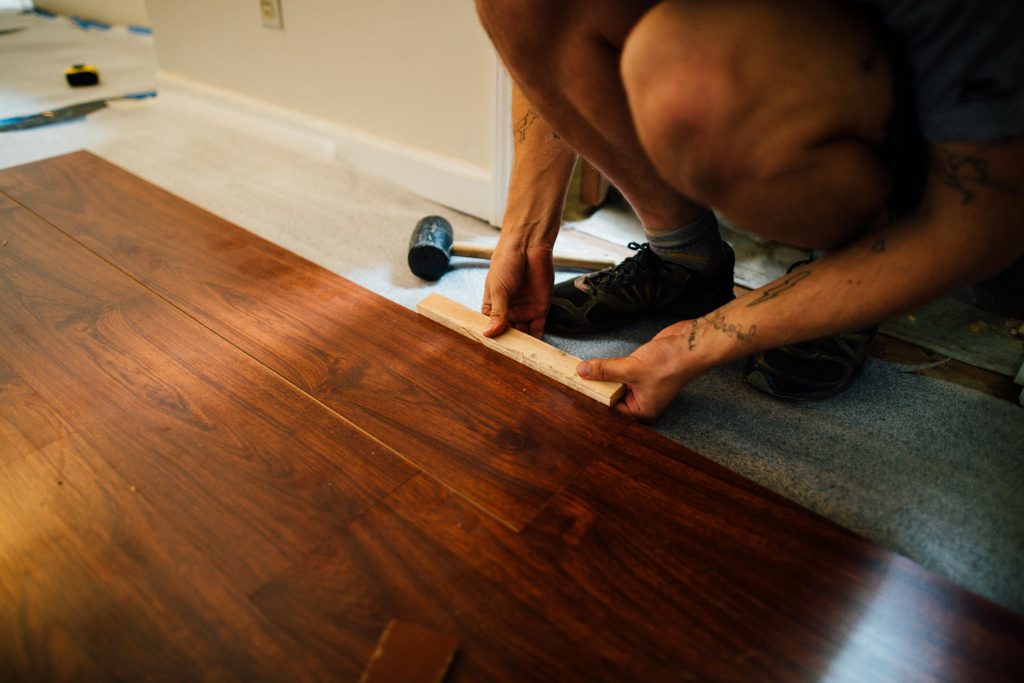
Laying laminate flooring is a popular and cost-effective way to enhance the aesthetics of your home while providing a durable and low-maintenance flooring solution. Before starting the installation process, it’s crucial to prepare the subfloor. Ensure it is clean, level, and dry, as any imperfections or moisture issues can affect the integrity of the laminate. If necessary, use a leveling compound to smooth out uneven areas, and consider installing a vapor barrier to prevent moisture from reaching the laminate planks.
Once the subfloor is ready, it’s time to lay the underlayment. This thin foam or felt material helps to reduce noise, provide insulation, and create a smoother surface for the laminate. Carefully roll out and cut the underlayment, securing it in place with tape or adhesive. Begin the installation in a corner of the room, working from left to right or right to left, depending on the manufacturer’s recommendations. Laminate flooring typically comes in interlocking planks, and it’s essential to stagger the joints for a more stable and aesthetically pleasing finish.
As you lay each plank, engage the interlocking mechanisms by gently angling and snapping the planks together. Use spacers along the edges to maintain a small gap between the flooring and the walls, allowing for natural expansion. To fit planks around door frames or other obstacles, carefully measure and cut with a saw or laminate cutter. Once the entire floor is installed, remove the spacers, and install baseboards or molding to cover the expansion gap. Properly laid laminate flooring provides a beautiful, resilient surface that can withstand daily wear and tear while adding value to your home.

